Proxmox Remote Desktop SPICE RDP and Looking Glass
Compare SPICE, RDP, and Looking Glass for Proxmox VMs. Choose the right remote display protocol for latency, audio, clipboard, and GPU passthrough workloads.

On this page
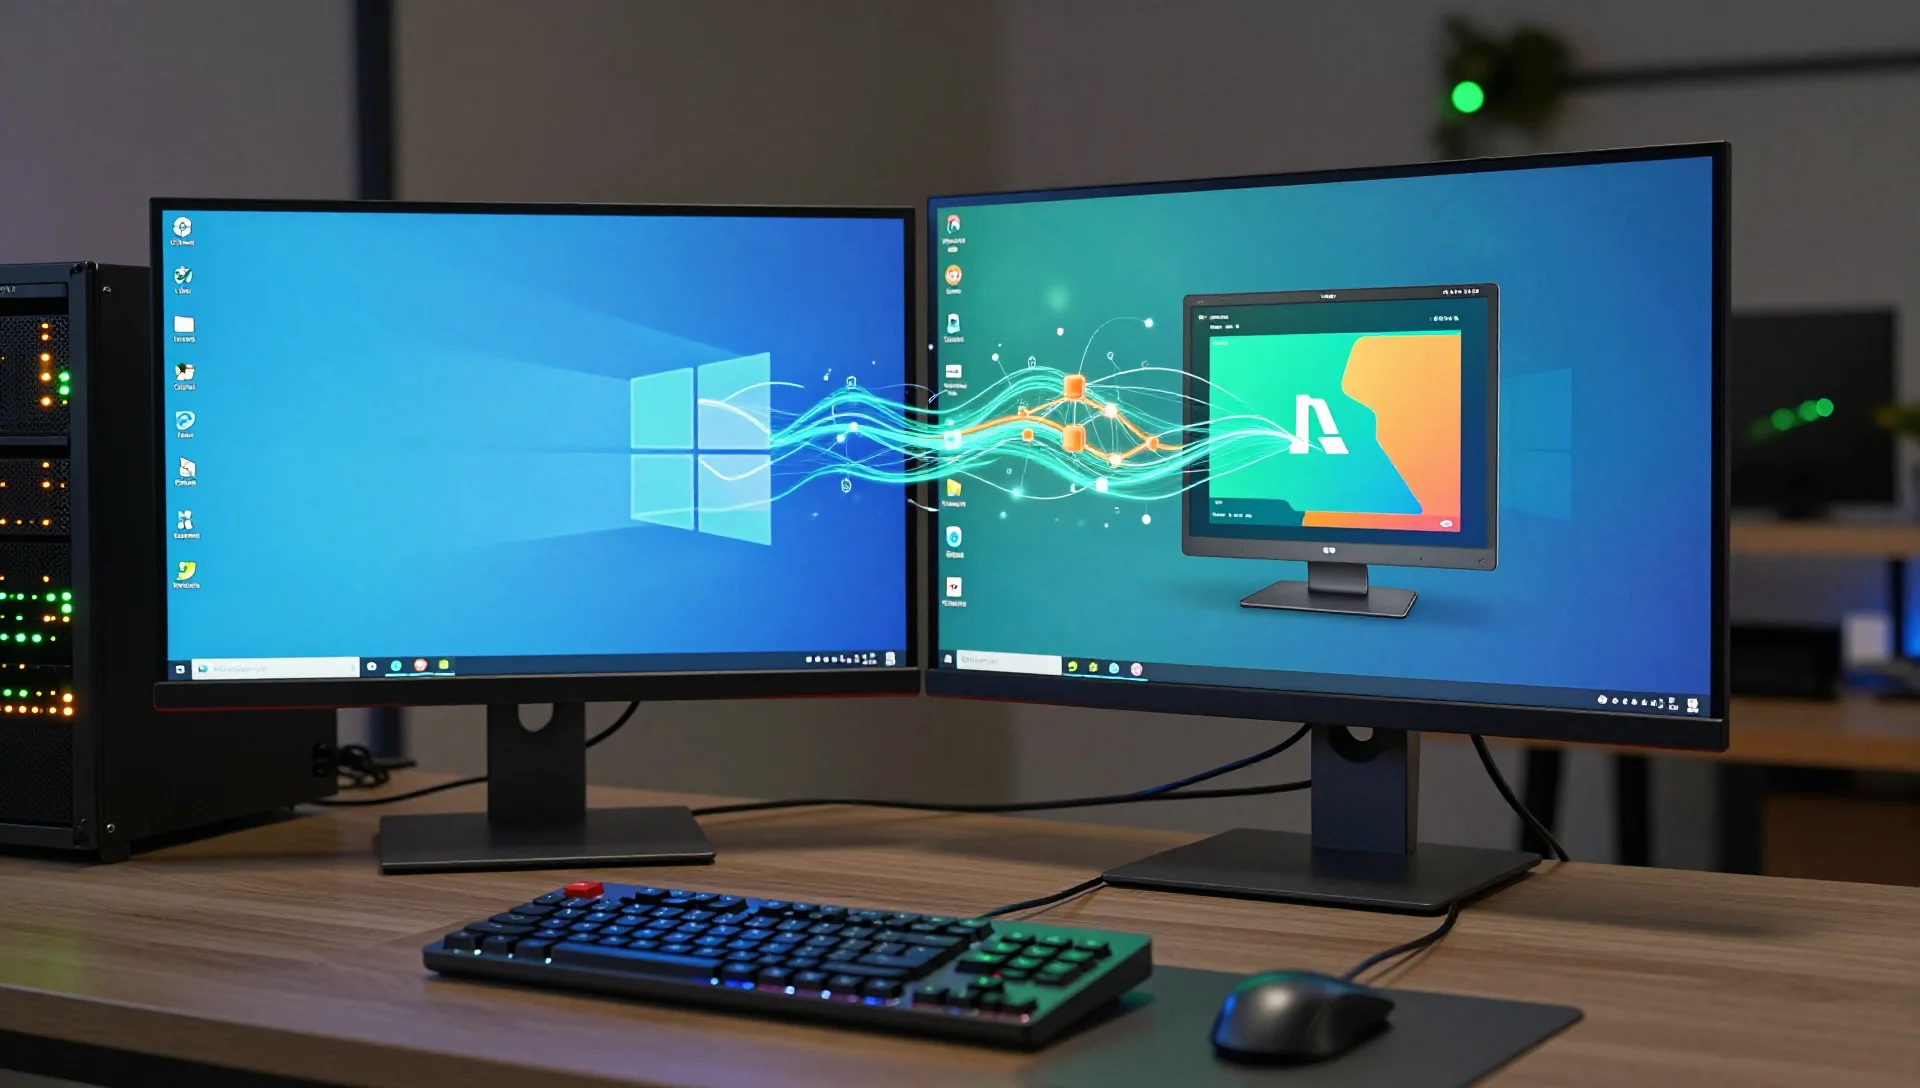
When you spin up a VM on Proxmox VE 9.1 and need to use its display remotely, three protocols compete: SPICE, RDP, and Looking Glass. SPICE works with every new VM out of the box and needs no guest setup beyond one package; RDP gives you tight OS integration with clipboard, audio, and USB; Looking Glass gets you sub-5ms latency for GPU passthrough workloads. Pick the wrong one and you will spend more time fighting the protocol than using the VM.
Key Takeaways
- SPICE: Built into every Proxmox VM, fastest to configure, best for Linux desktops over LAN or VPN
- RDP: Best for Windows VMs; native clipboard, audio, and USB redirection from any client OS
- Looking Glass: Only option for near-native GPU passthrough display; requires IOMMU and a discrete GPU
- WAN access: Tunnel SPICE or RDP over Tailscale or WireGuard; Looking Glass is LAN-only by design
- Complexity: SPICE (5 min) → RDP (15 min) → Looking Glass (2–4 hours)
How Proxmox Handles VM Display by Default
Every new Proxmox VM gets a VNC or SPICE display device in the hardware tab. The noVNC web console uses this same device — fine for quick access, but not a substitute for a dedicated client. VNC has no clipboard sync and degrades noticeably above 1080p. SPICE is the drop-in upgrade that requires no guest changes to improve on that.
When people say their VM feels laggy in the Proxmox console, they are usually hitting noVNC limits. A SPICE client with virt-viewer fixes it in under five minutes.
Setting Up SPICE for Linux and Windows VMs
SPICE is QEMU's native display protocol. Proxmox ships with full SPICE support — no extra host packages needed.
Configure the Display Device
In the Proxmox UI: VM → Hardware → Display → SPICE. Or via CLI:
qm set 100 --vga qxl
For multi-monitor support up to 4 heads:
qm set 100 --vga qxl,memory=64
Install the SPICE Guest Agent
On Debian/Ubuntu guests:
apt install spice-vdagent spice-webdavd
systemctl enable --now spice-vdagentd
On Windows guests, use the virtio-win-guest-tools installer from the virtio-win ISO — it includes the SPICE agent and stays more consistently updated than the standalone download.
Connect with virt-viewer
# Debian/Ubuntu
apt install virt-viewer

# macOS
brew install virt-viewer
Download the connection file from VM → Console → SPICE in the Proxmox UI:
remote-viewer ~/Downloads/pve-spice.vv
SPICE uses a random high port on the host. Over LAN this is transparent. Over WAN, tunnel through Tailscale or WireGuard first — SPICE does not encrypt by default.
Gotcha: Clipboard sync in Windows guests requires the SPICE agent running as a Windows service. If clipboard breaks after a Windows update, check Task Manager → Services to confirm it is still running.
Setting Up RDP for Maximum Compatibility
For Windows VMs, RDP wins on every metric that matters to a daily driver — clipboard, audio, USB, and multi-monitor work natively because they are built into the protocol. The Access a Linux VM on Proxmox from Windows via RDP guide covers client configuration in depth; what follows is the server side.
Windows Guest
Enable via Settings → System → Remote Desktop → Enable. Connect from Linux:
xfreerdp3 /v:192.168.1.100 /u:Administrator \
  /dynamic-resolution \
  /sound:sys:pulse \
  /drive:home,/home/user/shared \
  /clipboard
Or the built-in Windows client:
mstsc /v:192.168.1.100
Linux Guest with xrdp
apt install xrdp xorgxrdp
systemctl enable --now xrdp
xrdp listens on port 3389. XFCE sessions perform noticeably better than GNOME over RDP — GNOME's compositor adds latency that XFCE simply avoids.
Gotcha: On Ubuntu 22.04+ with GNOME, xrdp sessions often show a black screen. Fix it by adding these lines to /etc/xrdp/startwm.sh before the final exec:
unset DBUS_SESSION_BUS_ADDRESS
unset XDG_RUNTIME_DIR
systemctl restart xrdp
RDP over WAN
The /gfx flag in xfreerdp3 enables the RDP 10 graphics pipeline with H.264 compression:
xfreerdp3 /v:192.168.1.100 /u:Administrator /gfx /dynamic-resolution /clipboard
Expect 30–80ms over typical broadband — workable for administration, uncomfortable for fluid pointer work.
Looking Glass: Near-Native Display for GPU Passthrough VMs
Looking Glass B7 skips the network entirely. It uses a shared memory buffer (IVSHMEM) between the Windows guest and the Linux host. The guest renders frames into a shared framebuffer; looking-glass-client on the host reads those frames and presents them with under 5ms round-trip latency at 1080p/144Hz.
The hard requirement: a discrete GPU passed through to the Windows VM, plus a separate GPU (integrated graphics is fine) for the Proxmox host. If GPU passthrough is not yet set up, that is the prerequisite. If it is, Looking Glass adds roughly an hour on top.
Add the IVSHMEM Device
# /etc/pve/qemu-server/100.conf
args: -device ivshmem-plain,memdev=ivshmem,bus=pcie.0 -object memory-backend-file,id=ivshmem,share=on,mem-path=/dev/shm/looking-glass,size=128M
Size to your target resolution (power of 2): 1920×1080 → 32M, 2560×1440 → 64M, 3840×2160 → 128M.
Create the shared memory file at boot:
# /etc/tmpfiles.d/looking-glass.conf
f /dev/shm/looking-glass 0660 youruser kvm -
systemd-tmpfiles --create /etc/tmpfiles.d/looking-glass.conf
Build and Run the Client
On Debian/Ubuntu, build from source:
apt install cmake libgl-dev libfontconfig-dev libsdl2-dev libspice-protocol-dev \
  nettle-dev libx11-dev libxfixes-dev libxi-dev libxss-dev

git clone --recursive https://github.com/gnif/LookingGlass.git
cd LookingGlass/client && mkdir build && cd build
cmake .. -DCMAKE_BUILD_TYPE=Release
make -j$(nproc)
sudo make install
Inside the Windows VM, install the Looking Glass B7 host application — it runs as a background service and writes frames to the IVSHMEM buffer.
Launch the client:
looking-glass-client app:shmFile=/dev/shm/looking-glass
Gotcha: Looking Glass carries no audio. Scream is the standard fix — a virtual audio driver for Windows that streams audio over UDP to a receiver on the host:
git clone https://github.com/duncanthrax/scream.git
cd scream/Receivers/unix && cmake -B build && cmake --build build
./build/scream -i vmbr0 -o pulse
Install the Scream Windows driver in the guest and run this receiver on the Proxmox host. Replace vmbr0 with the bridge your VM uses.
Protocol Comparison at a Glance
| Feature | SPICE | RDP | Looking Glass |
|---|---|---|---|
| LAN latency | 20–50 ms | 15–40 ms | < 5 ms |
| WAN support | Yes (VPN required) | Yes | No |
| Clipboard sync | Yes (vdagent) | Yes (native) | No |
| Audio | Yes (virt-audio) | Yes (native) | Scream required |
| USB redirection | Limited | Full | No |
| Multi-monitor | Up to 4 (QXL) | Yes (native) | Single window |
| GPU requirement | None | None | Discrete passthrough GPU |
| Guest OS | Linux, Windows | Windows, Linux | Windows only |
| Setup time | ~5 min | 10–20 min | 2–4 hours |
When to Use Each Protocol
SPICE is the right default for Linux desktop VMs. If you are running the kind of homelab described in how to ditch bare metal and run everything on Proxmox, SPICE covers the majority of Linux admin and dev VMs with no configuration overhead.
RDP wins the moment the guest is Windows, or when you need to connect from iOS, Android, or ChromeOS — all of which have polished RDP clients and minimal SPICE support. Multi-monitor and audio are also noticeably better.
Looking Glass is worth the effort only for GPU-intensive Windows workloads — gaming, 3D rendering, or ML training with a consumer GPU — where a network protocol cannot deliver adequate display quality. For anything else, the setup cost is not justified.
Neither SPICE nor RDP should face the open internet directly. RDP port 3389 is among the most-scanned ports globally. Tunnel both through a VPN, or use a Cloudflare Tunnel for zero-trust access without managing VPN keys.
Conclusion
Start with SPICE and virt-viewer for Linux VMs — connected in five minutes, clipboard working in ten. Use RDP for Windows VMs; it is the protocol Windows was designed for and every client OS supports it natively. Reserve Looking Glass for GPU passthrough builds where sub-5ms latency actually matters, and budget an afternoon for setup and the Scream audio workaround.
If RDP is your next step, the Access a Linux VM on Proxmox from Windows via RDP guide covers client configuration in detail — the same pattern applies whether the guest is Linux or Windows.